Adjust Channel Permissions
If you want to work with the Tracejourney Bot in a private channel or limit its availability to certain roles, follow these steps to change permissions.
Step 1: Ensure you have the necessary permissions
Make sure you have the necessary permissions to manage roles and channels. You should have the "Manage Roles" and "Manage Channels" permissions, or be the server owner.
Step 2: Locate the channel
Find the channel for which you want to change permissions. You can locate it in the list of channels on the left side of the server window.
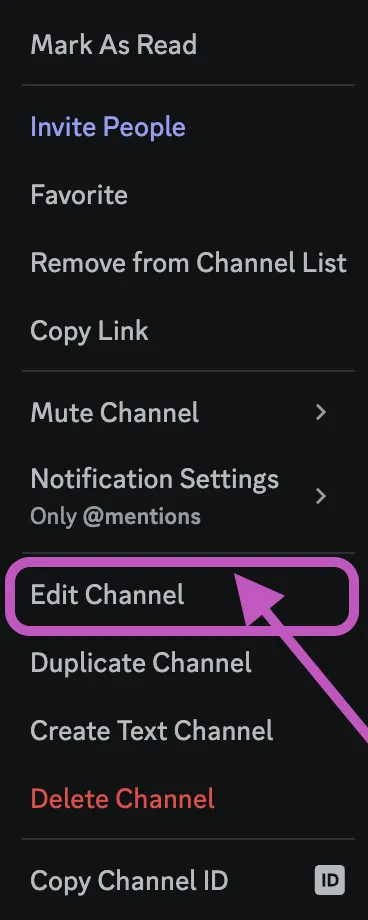
Step 3: Open channel settings
Right-click on the channel or click on the gear icon next to its name and choose "Edit Channel" from the context menu.
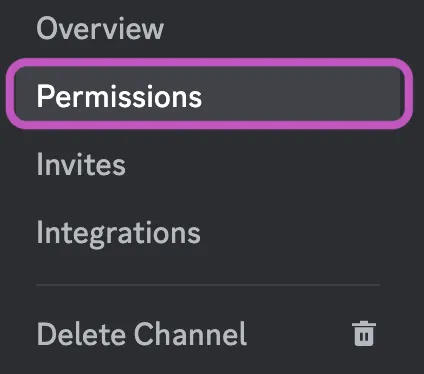
Step 4: Go to the Permissions tab
In the channel settings, navigate to the "Permissions" tab. Here, you'll find a list of roles and members with their respective permissions for that channel.
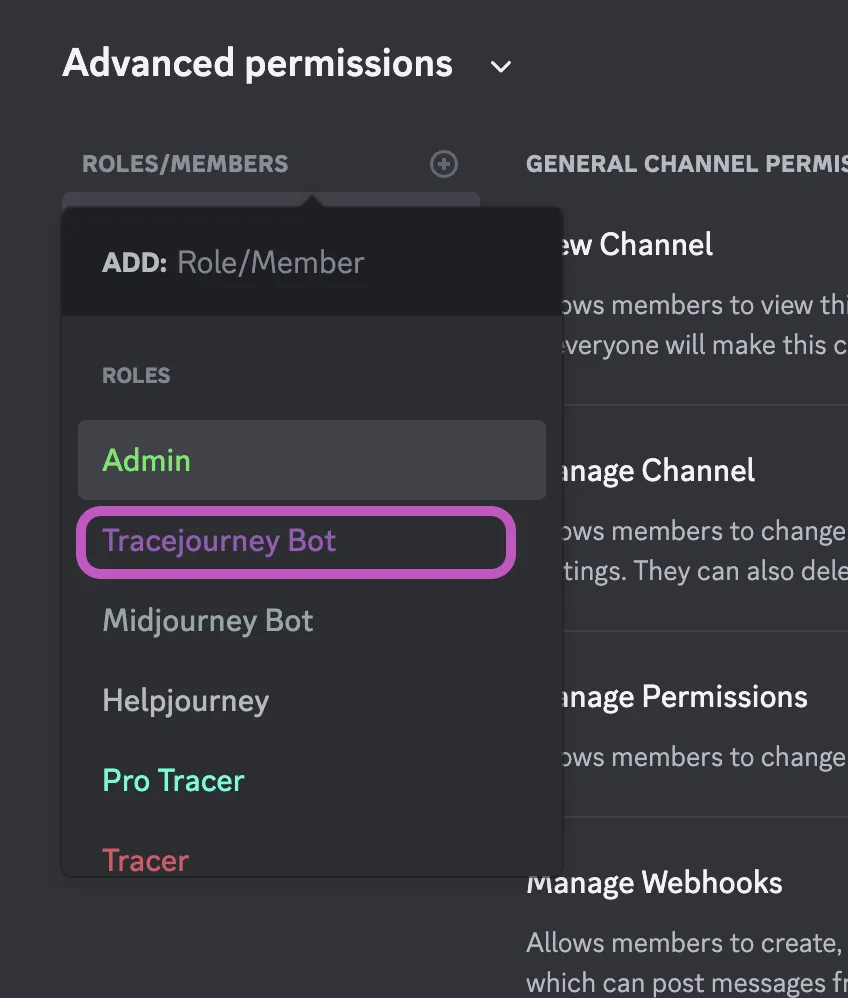
Step 5: Select the Tracejourney Bot role
Scroll through the list of roles and locate the "Tracejourney Bot" role. Click on it to select it.
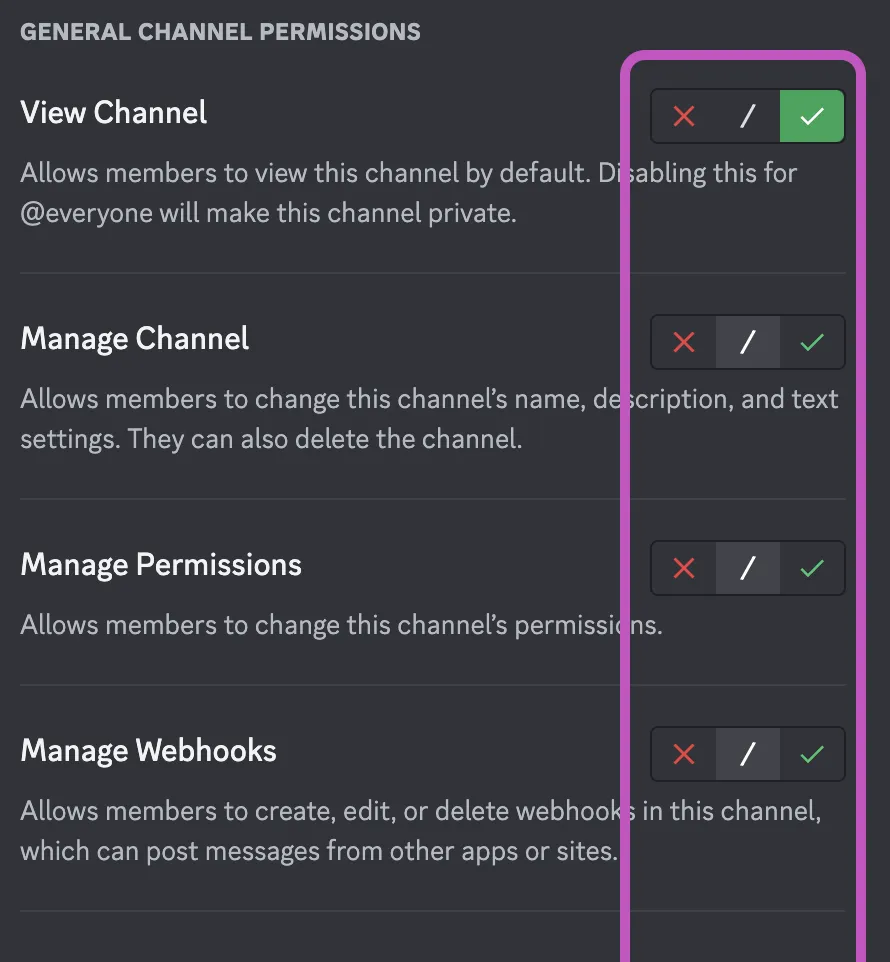
Step 6: Modify the permissions
Once the role is selected, you'll see a set of permission checkboxes. Toggle the checkboxes next to the desired permissions to enable or disable them for the "Tracejourney Bot" role.
Necessary permissions
- View Channel
- Read Message History
- Attach Files
- Embed Links
- Use Application Commands
Step 8: Save the changes
After adjusting the permissions for the "Tracejourney Bot" role, click the "Save Changes" button to apply the new permissions.
Step 9: Test the bot's functionality
The channel permissions for the "Tracejourney Bot" role have now been updated. Test the bot's functionality in the channel to ensure that it behaves as expected.